Tutorial: Copy a release to a remote server
This tutorial walks through a real deployment task from start to finish: you have just built a release on your Mac, and you need to get it onto a Linux web server over SFTP. Along the way you will save a reusable connection, browse the server as an ordinary panel, copy the build across with a single keystroke, recover cleanly if the connection drops, and send the transfer to the background so you can keep working.
Peach Commander treats a remote server like any other folder. Once you are connected, one panel shows the server and the other shows your Mac, and the same keys you use for local files (F5 to copy, F6 to move, Tab to switch panels) work across the network too.
What you will need
- A server you can reach over SFTP/SCP, plain FTP, or secure FTPS — for this walkthrough we use SFTP on the default SSH port 22.
- The server's address, your user name, and either a password or an SSH private key.
- A local build to deploy. In this example it is a folder called
myapp-1.4.0in your Downloads folder containing the release files.
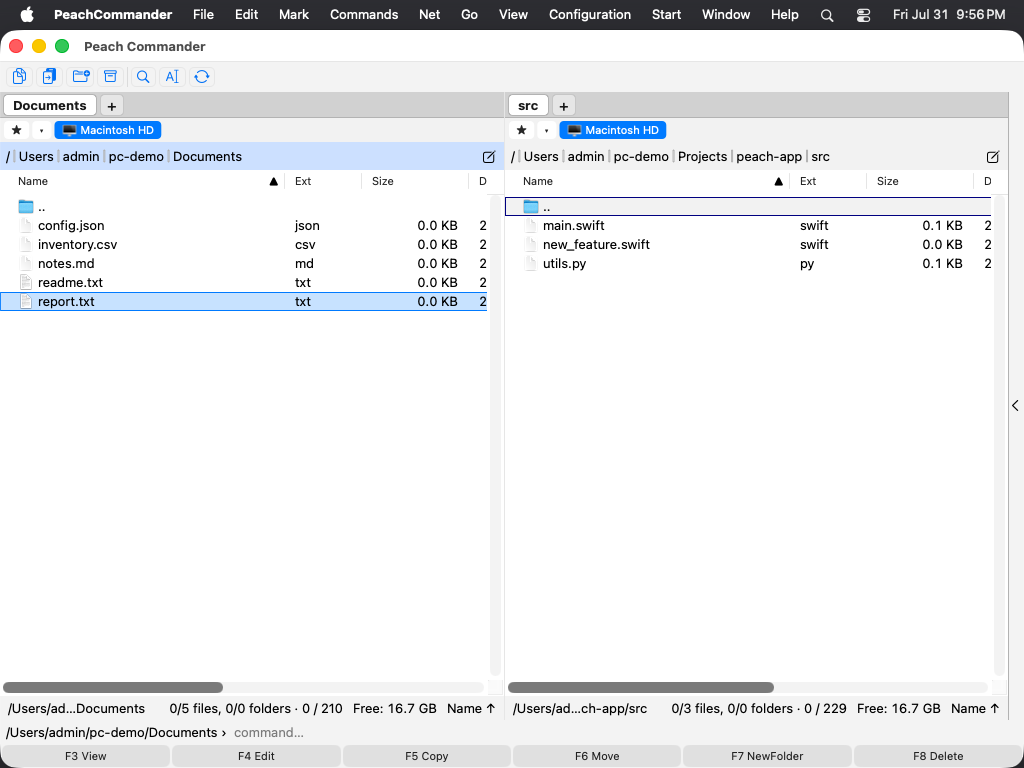 The dual-panel layout: your Mac on one side, the server on the other.
Step 1 — Save an SFTP connection
Saving the connection once means you can reconnect with two clicks every time you deploy.
- Open the Net menu and choose FTP Connect… (Ctrl+F) to open the connection manager.
- Click New to create a connection.
- Give it a clear name, for example
Production web server. - Set the protocol to SFTP/SCP, enter the server's host name (for example
deploy.example.com) and port22, and your user name. - Choose how to sign in: your SSH agent, a password, or a private key file. For key-based servers, point the connection at your key file.
- Optionally set a remote starting folder such as
/var/www/myappso the panel opens straight into your deploy target, and a keep-alive interval so an idle server does not drop you mid-transfer. - Click Connect. If you chose password sign-in, enter it when prompted and tick the option to save it — it goes into your macOS Keychain, never into the connection file.
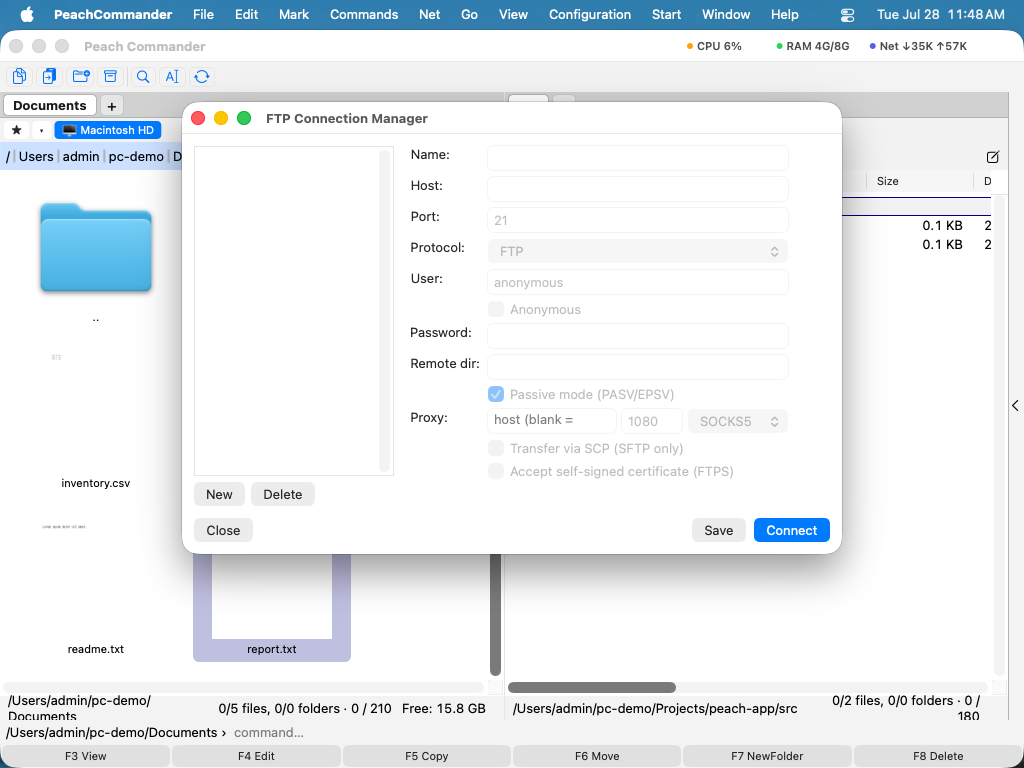 The connection manager holds your saved servers; New, Edit, and Delete manage the list.
The first time you connect, an unknown SSH host key is trusted automatically. If that server's key ever changes later, the connection is refused to protect you from tampering. For full details on protocols, passive/active mode, and FTPS certificates, see Connecting to FTP & SFTP.
Step 2 — Browse the server as a panel
Once connected, the active panel switches to show the remote server. It behaves exactly like a local folder: arrow keys to move, Return to enter a folder, and the path bar at the top to see where you are.
- Press Tab to move the cursor to the panel showing your Mac.
- Navigate that panel to your local build, for example
~/Downloads/myapp-1.4.0. - Press Tab again to return to the server panel and open the folder you want to deploy into, for example
/var/www/myapp/releases.
You now have the source (your build) in one panel and the destination (the server) in the other — the classic setup for copying.
Step 3 — Copy the build across with F5
This is the core of the deploy, and it is a single keystroke.
- In the panel showing your Mac, select the
myapp-1.4.0folder (or select the individual files you want to send). If nothing is selected, the item under the cursor is used. - Make sure that local panel is the active one, so the other (server) panel is the destination.
- Press F5. The copy dialog opens with the remote destination path already filled in.
- Check the target path points where you expect on the server, then confirm to start.
Folders are copied with everything inside them, so the whole release goes in one operation. A progress window shows the current file, the overall job, and the live transfer speed. If you want to keep the server from being saturated, set a speed limit in the copy dialog before you confirm.
For the full set of copy options — including Only newer files, which is handy when you are updating a deploy rather than sending a fresh one — see Copying files.
Step 4 — Resume if the connection drops
Remote transfers can be interrupted by a flaky network or a server timeout. Peach Commander is built for this.
- SFTP, FTP, and FTPS transfers can resume where they left off rather than starting the whole release over.
- If a transfer is cut off, simply start the same copy again. When the server supports it, it picks up from the point it stopped.
- A keep-alive interval on the connection (set in Step 1) helps prevent idle timeouts during the parts of a transfer where the control channel is quiet.
If you would rather pull a build the other way — fetching a release artifact from a download URL onto your Mac before deploying it — that path resumes too, keeping partial data in a .part file until the download completes. See Downloading from a URL.
Step 5 — Run it in the background
A large release should not tie up the app while it uploads. Send the job to the Background Transfer Manager and keep working.
- When you start the copy in Step 3, choose to run it in the background — or, while a foreground copy is running, send it to the background from the progress window.
- Open the manager any time from Commands ▸ Background Transfer Manager… (Cmd+Shift+B).
- Each job shows a title, a progress bar, and a live line with files done, bytes transferred, and current speed.
- Use the per-job Pause, Resume, and Cancel buttons while a job runs.
- When the upload has finished, click Clear Finished to tidy the list.
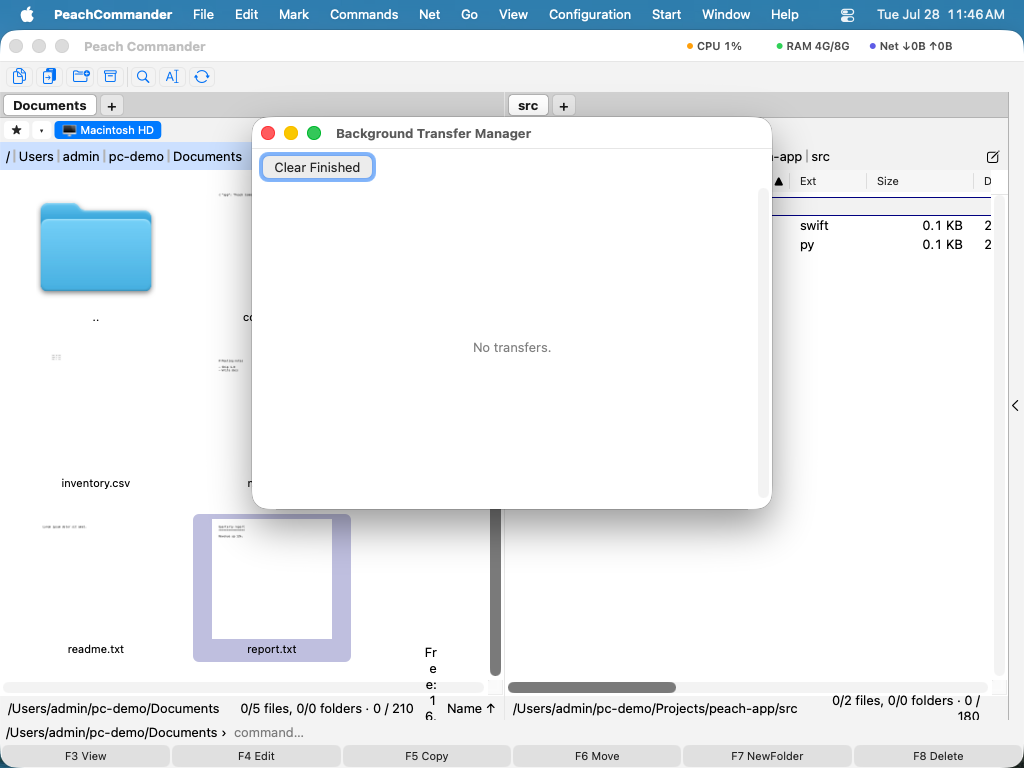 Each transfer is its own row you can pause, resume, or cancel independently.
You can also stage several deploys at once: add each copy as a held job, then press Start All to launch the whole waiting list together. Because a background job runs unattended it cannot stop to ask questions — if a file already exists at the destination it is overwritten, and any item that cannot be transferred is skipped and collected in an error log for you to review afterward. Full details are in Background transfers.
Step 6 — Disconnect
When the deploy is done, choose Net > FTP Disconnect (Ctrl+Shift+F). Your saved connection stays in the connection manager, so next time you deploy you just open it and reconnect.
Recap
- Saved a reusable SFTP connection with the password kept in Keychain.
- Browsed the server as an ordinary panel next to your Mac.
- Selected the build and pressed F5 to copy it across.
- Relied on resume to survive an interrupted transfer.
- Ran the upload in the background and managed it from the transfer manager.
Notes
- Peach Commander is pre-1.0. The beta builds are not notarized, so the first launch has to be allowed once — under System Settings ▸ Privacy & Security on macOS 15 and later, or with a right-click → Open on macOS 13–14. See installing Peach Commander.
- Remote passwords are only ever stored in your macOS Keychain, and the app sends no telemetry.
- Existing FTP connections from Total Commander can be imported, so you may not have to re-enter servers you already use.