Appearance
Peach Commander can match the look of the rest of your Mac or take on a style of its own. You can follow the system light or dark setting (or force one), recolor the file panels, highlight files by type, and adjust the list font size and date format so the panels read exactly the way you like.
Pick a color theme
A theme replaces the whole panel palette in one step.
- Open the settings window by pressing Cmd+, (or Configuration > Settings…).
- Select the Colors page.
- Choose from the Theme menu:
- System (default) — no theme. The panels follow the Appearance setting below, exactly as they always have. This is the default.
- Light / Dark — pin the built-in light or dark palette regardless of what macOS is doing.
- Midnight — a dark theme that is not just grey: deep indigo panels with soft blue-grey text, a white cursor row and amber for marked files.
- Norton Commander — the classic blue-and-cyan look of the original DOS file manager, in its authentic CGA colors: blue panels, cyan text, a light-cyan cursor row and yellow for marked files.
A theme brings its own light/dark base so that sheets, scrollers, and standard controls match it — which is why the Appearance menu is greyed out while a theme is selected. Custom panel colors (below) still win over the theme, so you can keep one favorite color on top of it.
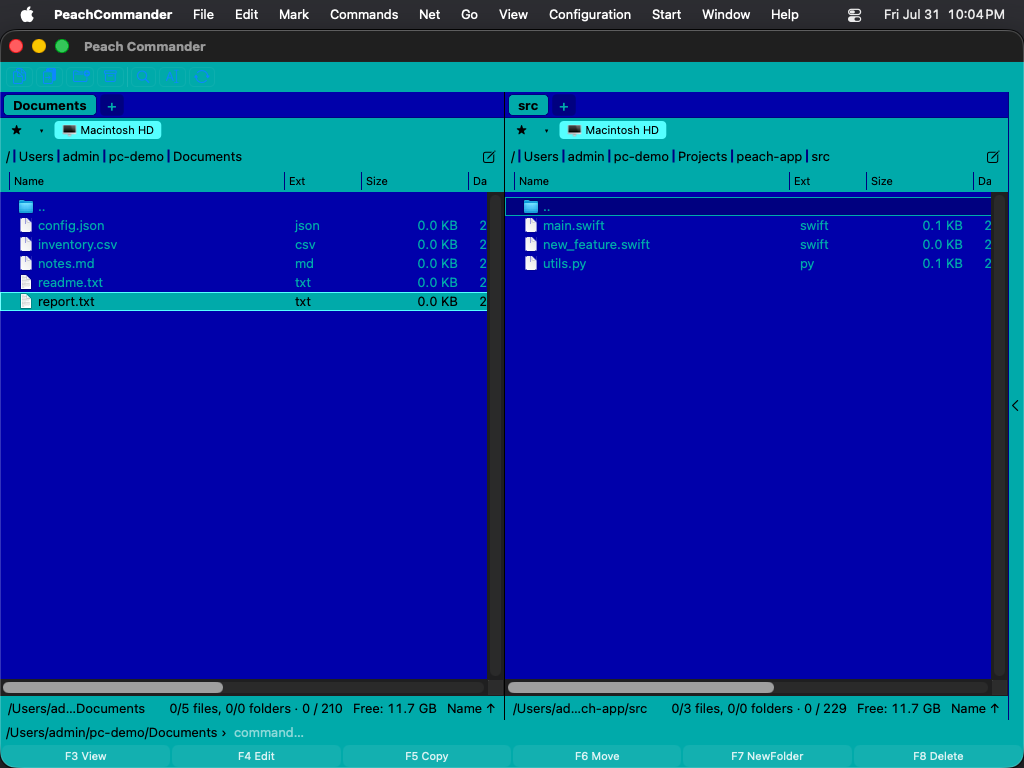 (Figure: The Norton Commander palette — the original CGA blue, cyan and yellow.)
The Norton Commander theme uses the authentic CGA values the 1986 original did: #0000AA blue, #00AAAA cyan, #55FFFF for the cursor row, #FFFF55 for marked files. The cursor bar inverts to dark text on cyan the way the original drew it, while marked files keep their yellow.
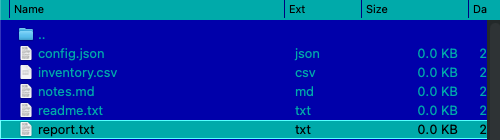 (Figure: The cursor bar inverts; marked files stay yellow.)
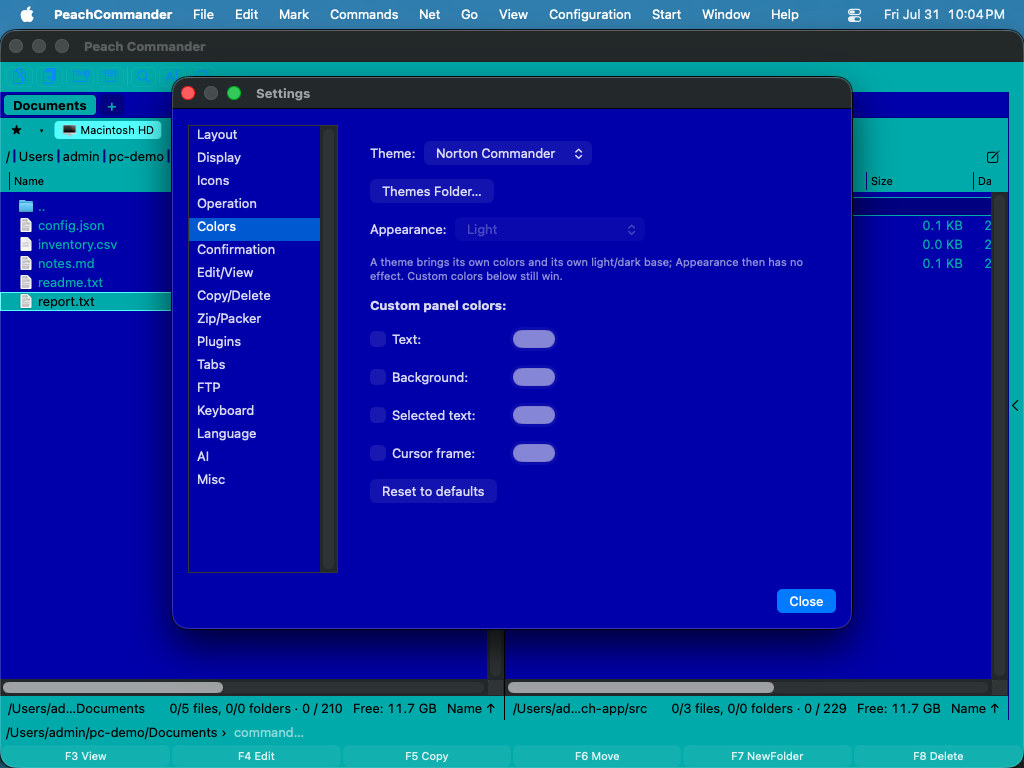 (Figure: The app's own dialogs follow the theme too.)
Themes are colors only. The panel layout, the frames, and the fonts are unchanged — Norton Commander does not bring back the double-line box borders or the DOS raster font.
Write your own theme
Themes are plain text files, one per theme, in a themes folder inside your configuration folder.
- On the Colors page, click Themes Folder…. The folder is created if it does not exist, and the first time it is empty Peach Commander drops a commented
example-norton.iniin it that lists every color you can set. - Copy that file, give it a new name, and edit it. The file name (without
.ini) is the theme's id; theNameline is what the Theme menu shows. - Save. Open the Theme menu again — your theme is in the list. No restart needed.
A minimal theme is three lines:
[Theme]
Name = My Midnight
Base = dark

[Colors]
ListBackground = #101020
ListText       = #C0C0D0
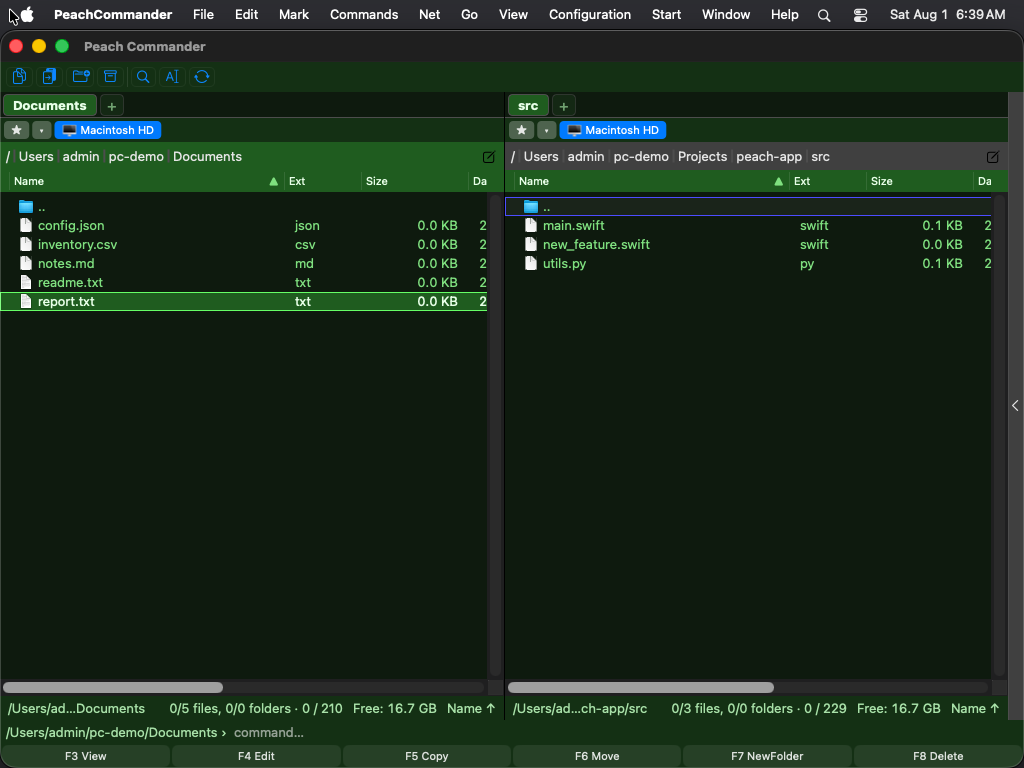 (Figure: A theme loaded from a file in the themes folder.)
Base picks the built-in palette (light or dark) that supplies every color you do not list, so you only write down what you want to change. Colors are #RRGGBB. Lines starting with ; or # are comments.
If something in the file is wrong, Peach Commander skips that one line and keeps the rest of your theme — it does not refuse the file. The reason is written to the system log, visible in Console.app if you filter for [theme].
The names light, dark, norton and system belong to the built-in themes; a file using one of them as its file name is skipped so it cannot shadow a shipped theme. If you delete the theme file you had selected, Peach Commander falls back to System (default).
Set light, dark, or system appearance
- Open the settings window by pressing Cmd+, (or Configuration > Settings…).
- Select the Colors page.
- From the Appearance menu, choose one of:
- System (follow macOS) — matches your Mac's current light/dark setting automatically.
- Light — always use the light palette.
- Dark — always use the dark palette.
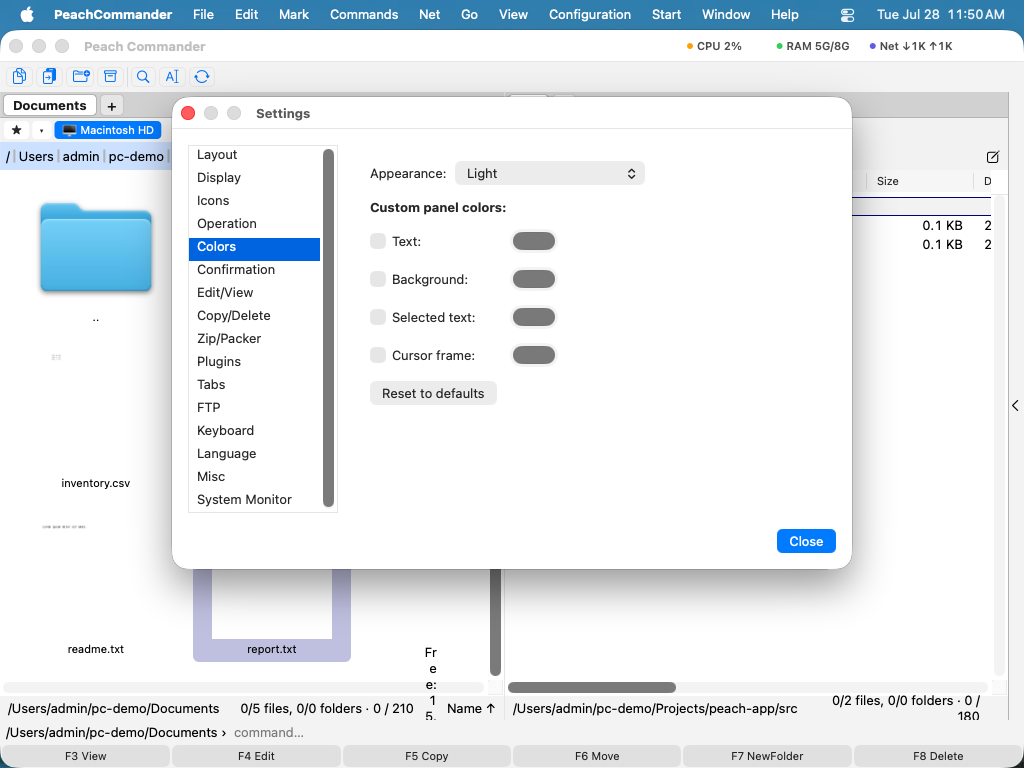 (Figure: The Colors page: choose an appearance and override individual panel colors.)
Customize panel colors
On the same Colors page, under Custom panel colors, turn on the checkbox next to any element and pick a color from the well beside it:
- Text — the file and folder names.
- Background — the panel background.
- Selected text — the color used for marked files.
- Cursor frame — the outline around the current item.
Leave a checkbox off to keep the built-in color for that element. Click Reset to defaults to clear all overrides at once.
Color files by type
- Open Settings (Cmd+,) and select the Display page.
- Click File-Type Colors….
- Add a rule with a name mask such as
*.zipor*.txt, then pick a color for files that match it. - Use Add Rule for more masks; click Done to save or Cancel to discard.
Matching files then appear in your chosen color in both panels.
Adjust font size and date format
On the Display page you can also:
- Choose the panel list Font size in points.
- Enter a Date format pattern to control how modification dates are shown; leave it empty to use your Mac's regional format. A live preview appears below the field as you type.
- Turn on Alternating row background for zebra striping that makes long lists easier to scan.
Shortcuts
| Action | Shortcut |
|---|---|
| Open settings | Cmd+, |
Notes
- The Appearance menu only applies while the Theme is System (default); a theme decides its own base.
- A theme also colours the app's own dialogs. System dialogs — Open, Save, the colour and font pickers, and alerts — keep their standard look, and so do windows that plugins open themselves.
- The Appearance setting styles the file panels. System dialogs, alerts, and standard controls always follow macOS.
- The built-in file viewer uses matching light and dark syntax-highlighting palettes, so highlighted code stays readable in either appearance.
- Custom colors and file-type rules are saved with your settings and reapplied every time you open the app.